27 April 2010

{Give-Away} Come Celebrate National Scrapbooking Day!!

Saturday, May 1st, 2010 is National Scrapbooking Day in the U.S. And I know many of you are preparing your Crop N' Styles, travel paper trimmers and "pages I've got to get done" for this weekend! Some of you may be going to a retreat, a day crop, taking a class at a local scrapbook store, or just setting aside "me time" away from the fam.

Either way, you'll be using a LOT of materials this weekend. So instead of having a give-away before National Scrapbook Day, we're hosting one ON NATIONAL SCRAPBOOKING DAY!!!

Yippie!!!!

"So.... what am I getting?," you might be asking....

Well here we go:

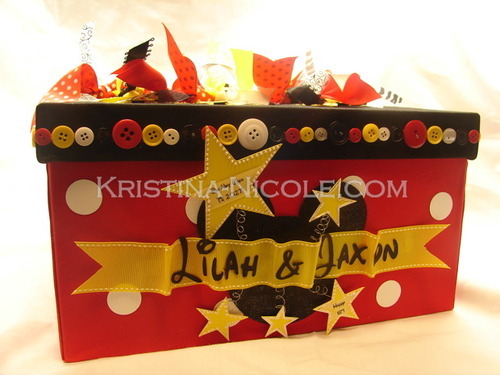
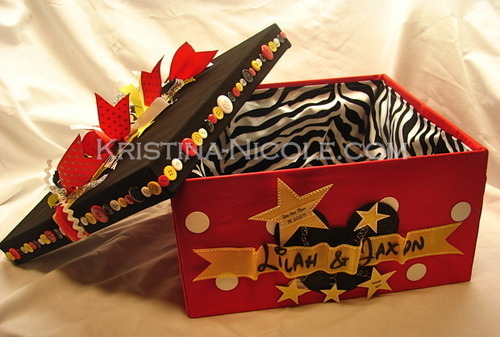
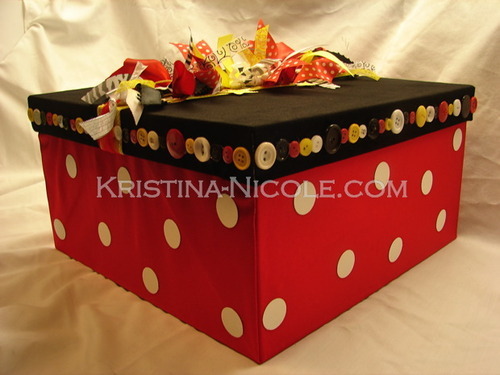
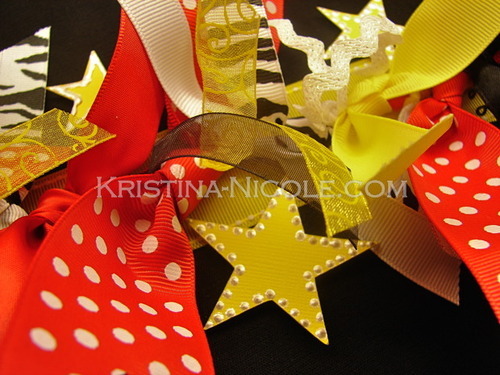
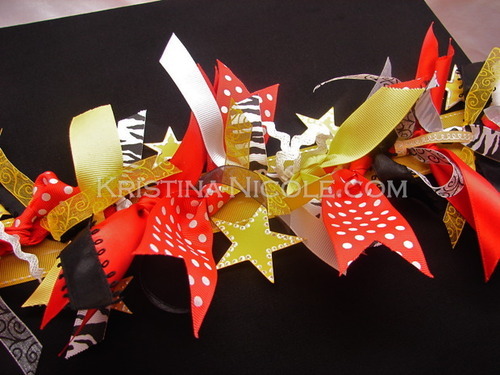
We're giving away $50.00 of scrapbooking supplies from the Kristina-Nicole studio!  Yep, $50 bucks worth of scrap supplies - enough to replenish part your stash or to even add to it!! If you're not a scrapper, you can always use these supplies toward your very own Etsy shop creations, start a scrapbook, or hey - you could find a scrapbooker & they'll probably barter with you for the supplies!! :)

"So..... what does $50.00 of scrapbooking supplies from the Kristina-Nicole studio include....?," you might say....

It will include supplies from the following vendors:


And may include things like buttons, rhinestones, ribbon, 3D glitter letters.... and much, much MORE!!!!


{How to Enter to Win}


1. MANDATORY ENTRY:  Follow Kristina-Nicole's blog { yep that's right, just following us here} AND leave a comment below about what you would do with the supplies if you won!


2. For one additional entry: Join Kristina-Nicole's email list. {click here to visit her site and sign up! It's a cinch & will only take you 3.5 seconds to do!!}


3. For one additional entry: Become a fan of {or like} Kristina-Nicole on Facebook. {Leave a comment there so we can give you credit!!}


4. For one additional entry:  Post/write about this give-away on your facebook profile(s), including a link to this blog post. {Send us an email with your page(s) so we can give you credit for each one!!}


5. For one additional entry: You can tweet about this give-away, including a link to this blog post. {Send us an email with your twitter address so we can give you credit!!} 


Good luck out there!! 


The lucky winner will be announced Saturday May 1st!  


xo,


25 April 2010

{A Repost} Why Buy Handmade?


Happy Sunday! 


It seems that I just love Sunday "homework" don't I? Every sunday is my day to relax & take in DIY projects: learn how to dye coffee filters to turn them into roses, make a cupcake stand out of candle sticks & vintage plates..... 
I catch up on Elizabeth Kartchner's blog, 100 Layer Cake, Passion & Paisley - among MANY others. {You should see my "Morning Read" blog/website list... if you know of any good ones, pass a note my way}


This morning, while perusing through my "list" I found this recent article written by the owner of Passion & Paisley. It was SO good, I didn't even want to attempt to reword it. Here you go:
****************************************************************************************

Why Buy Handmade?

...poster by slidesideways on Etsy...
Before Earth Month ends, I'd like to share with you one of the funnest andeasiest things you can do to promote sustainability and "go green". Buy handmade!! I told you this would be fun and easy! I was unaware of all the benefits of buying handmade until I read an article about Etsy in Natural Health magazine last October. I went to Etsy's site and browsed through winter gloves for hours. (The poster above was my first Etsy purchase.) As my journey with Etsy has continued over the last six months, my eyes have been opened wide to all the benefits of buying handmade...
  1. Handmade Products Are Unique: In this age of cookie cutter houses and mass production, we could all use a little individuality. When you buy handmade goods you buy one-of-a-kind. Even for the few artists who are able to easily re-create their products, you can bet they are still pretty rare! I guarantee you'll hear less "I have the same one!"
  2. Handmade Products Make Better Gifts: Because of their uniqueness, handmade products make amazing gifts. Handmade gifts are more meaningful, and most likely have a great story attached to it. The love and care that was put into making the product is passed onto the recipient of your gift. 
  3. Buying Handmade Battles Big Business: When you buy handmade products, you're putting money into the hands of the artist and keeping it out of the pocket of "the man". (He doesn't need another Ferrari anyways!) Artists work hard for what they create, and the best way to support them is to buy from them directly. 
  4. Buying Handmade is Eco-friendly: Mass production may have a cheaper price tag now, but you and the environment pay a large price in the end. By purchasing handmade products you avoid pollution from factories and reduce waste. Handmade artists often up-cycle and are very conscious about the environment.
  5. Handmade Products are Good for Human Society: Most of the products we buy in stores are made overseas under inhumane working conditions. While none of us are intentionally trying to hurt another human, we are indirectly supporting child-labor and other horrible practices when we buy mass produced products. Aside from this huge factor in human rights, the handmade community also re-connects people. There's something to be said about knowing exactly who made the item you purchase. Handmade products promote creativity in our society! 
    Now that you're well informed and pumped up about buying handmade, it's time to take the handmade pledge. I did! Check out this video of others who have vowed to buy handmade.


      Remember to recycle, re-use and up-cycle whenever possible! This article was in no way intended to promote consumerism or encourage you to buy. However, when you must buy...consider the benefits of buying handmade. Why do you buy handmade?? Leave me a comment and let me know!

      xoxo
      -Nicole


      ****************************************************************

      Isn't it great? So, let's do what Nicole says, why DO YOU BUY HANDMADE? Leave a comment and let me know!

      xo,


      {side note} Nicole isn't the "Nicole" of Kristina-Nicole, though I love her so much she might as well be :)

      22 April 2010

      Overhauling!!!

      I wanted to drop a line saying that my Etsy shop will be closed for several weeks. I'm currently overhauling the place. We're working on new items, a wedding line, and making it easier to navigate through the store. I wanted to thank you ahead of time for the support and understanding!


      We'd love to hear what you have to say!!


      {Oh, and if you have any extra suggestions about our shop or any Etsy shop you've seen, we'd love to hear you opinion!!}


      xo,

      Kristina-Nicole

      19 April 2010

      DIY Wedding & Wedding Tutorials


      As you may have read, yesterday I spent my time doing some homework online - in pursuit of a jumping off point for my personal wedding invites.

      Today, I wanted to post some of the fun things that I came across!

      Remember to click the photos to go to the link.
      Enjoy!

      cake stands

      {DIY Vintage Cupcake Stands}

      chalkboard pots stonewall kitchen 574614_alt1

      {Chalkboard Paint}  This tutorial has several different examples!


      {Bridal Bouquet made of Coffee Filters}


      Have fun putting your own creative twists on these!! When you make them, I'd love for you to share your pictures! I'll feature them on the blog!

      xo,

      18 April 2010

      Gah! Thwarted Again! Anthropologie does what?

      GGAAAAAAAAAAAAAAAAHHHHHHHHHHHHHHHHHHHHHHHHHH!!!

      Read this repost: See why I'm blog yelling!


      Anthropologie Wedding Brand Coming Soon!
      Posted by Adrienne O'Connor
      I am so incredibly excited to deliver this news, and slightly devastated that this is happening after my own wedding has already taken place. But, for you lucky ducks that are soon to be wed, Anthropologie is launching a wedding brand!!
      That’s right, the simply delicious women’s-clothing and home-furnishings chain has entered the wedding industry, and I for one, couldn’t be more thrilled. The brand, which has not yet been named, will include everything from invitations to gifts, as well as decorations, jewelry, shoes, bags, wedding gowns and bridesmaid dresses. They will even offer planning services and styling advice. I pulled together some images from their site to give you an idea of the Anthro aesthetic, for those of you who have not yet been blessed to have Anthropologie enter your lives.
      Anthropologie Wedding Brand
      Photo Credit: Anthropologie
      For those of you who love the Anthropologie experience as much as I do (and the rest of its dedicated followers), I’m sure you’ll want to include at least one detail into your upcoming wedding. But, you will have to wait until the spring of 2011, which is when the brand is set to debut online, but good things come to those who wait, right? Select stores will also be opening across the US, so get ready!


      So you see why I'm yelling? It almost makes me want to postpone my own wedding. Almost.

      OMgoodness! Do you know just how excited I am? Well do ya?

      xo,

      16 April 2010

      {Q&A} Advice on Glue


      Over at EtsyPaper Street Team, I answered a user's question:


      "I've tried Scotch (liquid) Scrapbooker's Glue, as well as Adtech dot glue.  Both have their pros and cons. 

      What kind do you use, where do you buy it, and what do you use it for?"


      *********************************

      Well I use several different types - but the investment in them are worth it (to me).

      Paper to Paper Or Paper to Chipboard: Mono Aqua (Liquid Glue) by Tombo - Use sparingly because it's wet, but holds really, really well. Dries pretty fast. A $4 bottle lasts me about 3 weeks (but I'm working everyday with it).


      Paper to Paper: Glue Glider Pro (double sided paper tape) by Glue Arts - a bit of an investment at $13 for the handle & cartridge , and $11 per refill. However, VERY easy to use, no peeling away a paper stripe to expose adhesive, VERY easy to refill & each cartidge comes with 40 feet of tape.


      OR

      Paper to Paper: E-Z Runner (double sided paper tape) - also very easy to use, comes in 28 feet. No refilling, just throw away entire thing & buy a new one. No paper to peel away either. About $4.


      Ribbon/Fabric to Ribbon, Paper, or Chipboard: Fabric Tac by Beacon Adhesives - HOLDS REALLY WELL! and it's acid free! Goes a very long way. Various prices for various sizes. If ever it gets a little too thick, just add a dash of acetone. That red cap does nothing to keep the air out, use a push pin instead.


      Embellishments to Anything (buttons, rhinestones, charms): Glue Dots - Many different types. Can be used for anything really. Instant hold so there's no waiting for it to dry. When using: Put the back of the item on the dot and THEN pull away. If you use your fingers or tweezers to put the dot on something, you'll end up with a non-usable booger like thing. : / Average price is 5.50 for 300 dots.


      I use a lot of glues, but these are some of the best I have found. P.S. If you ever go to a Scrapbook Expo, they're about 30-50% cheaper. I usually stock up there because buying glue is like having to buy socks. You'd rather spend your money on something else more fun, but socks are a necessity.

      :)

      xo,

      Kristina-Nicole

      14 April 2010

      "Disney Time Capsule"


      Good Morning!!
      This week’s project is a “time capsule” {memory box}. This box comes in at 14”x14”x8”. 
      Well, let me just cut & paste the description from the website:
      {This box was made for a client that wanted a “Time Capsule” for her twins’ first birthday. Her party guests were asked to bring something from the year 2010, the year of the baby’s birth. On their 18th birthday, they will be opening this box once again, to see what’s inside! This box is large, measuring 14 inches wide by 14 inches long by 8 inches deep. The theme was contemporary Disney. The colors were primary yellow, cherry red, and licorice black, “with a flair of zebra” as requested by the customer.}
      {The bottom is covered  with textured red fabric & white dots -the dots are made of textured heavy weight cardstock- are added, to resemble Minnie Mouse’s skirt.}
      {The lid is covered with beautifully textured black fabric & decorated with over 12 different types of coordinating ribbons & embellished stars.}
      {The inside is lined with high quality flocked zebra print fabric - hemmed to fit theis particular box.}
      {The front is adorned with a silhouette Mickey Mouse head, covered with black glitter & detailed stars. The glitter is sealed. This ensures that the glitter remains on the Mickey silhouette. The stars are looped on wire to give a fireworks emphasis to it. A banner of yellow ribbon streams across the box, lettered with the twins’ names in the classic Walt Disney font.}
      xo,

      New Memberships & Aspiring Friends!


      Good Late Morning! 
      So, finally jumping back on here after a couple of days, Chris was sick yesterday - so again, I apologize for not getting Monday Montage up. :(
      While needing to pass the time as I waited on my future hubby, I discovered Ning. It’s a social networking site that brings people together based on a topic. It would be like Facebook, but rather, a whole bunch of “mini-facebooks”. So, they have photography ning networks, gardening ning networks, paper ning networks, SCRAPBOOKING ning networks…. ESTY ning networks….!! 
      I am happy to annouce that I joined 2 ning networks yesterday! 
      {Your Paper Pantry}
      This is a group of people who live on paper. They breathe paper, dream of paper, and use paper in more ways than you can imagine!
      {EtsyPaper Street Team}
      I am an “aspiring” team member. This means, that I am an unofficial team member, waiting for formal approval. {fancy, fancy….} The members of this ning network are required to have an Etsy shop, specializing in paper goods & products… think I’ll fit in?! :)
      So,  I encourage you to check out Ning. I am really liking it so far {call it love at first sight} & I’ve already bumped into people that I knew a long time ago! 
      xo,
      Kristina-Nicole
      p.s. At the very least, check out my sites & let me know what you think. ;)

      My Weekend Project & DIY Garden Markers


      This weekend was sunny and beautiful. To my surprise, my fiance decided to clear out the side yard for my dad. This lead to a day of digging, weeding, and gardening. I’ve always been against gardening - I had to do it with/for my mom when I was a teenager & I never understood the concept of planting annuals. ((“Why are we spending all this energy just to plant something that will die in 6 months & we’ll have to dig up again?”))
      So, I’ve never really given gardening a second chance until this weekend. My dad wanted to plant some veggies & I’m really excited about them! I’ve been trying to eat less processed & altered foods so, an organic garden? Yes please!! 
      Mmmm Oregano…
      Just the beginning of filling our cart…
       The first courageous one….
      {DIY: Wooden Garden Markers}
      1. Get small planks of wood. {these are mini wedges, they came in a 12 pack - I got these at the hardware store}
      2. With a permanent marker, I used a Sharpie, LABEL! I wanted to draw little images of what would be…. :) {and my asst. means assorted, I couldn’t remember the actual abbreviation for it}
      3. Grab your Deco` Podge. {found at any craft store in the glue aisle}. There are different kinds to get. If you’re buying a new jar, they have an outdoor kind. Deco’ Podge is a glue & sealant. It is waterproof when dry, so I used this paste as a means to seal the wood chips & keep the marker ink from bleeding when I water the plants. 
      4. Using a foam brush {also at a craft store} smear the deco’ podge all over. You really cant put too much on, but you want it even. It will look & smell like Elmer’s white glue. If you are sensitive, do this outside. They will look cloudy when wet, but all will dry clear. I did both sides. They’ll take about 10-15 minutes to dry, if you’re outside.  {DIY tip: Make sure you wash out your foam brush immediately after you’re done so you can reuse your brush later :) }
      5. Shove the markers near the planted seeds/sprouts!! 
      {Here are some photos of the garden with the markers}
      xo,